> ## Documentation Index
> Fetch the complete documentation index at: https://docs.thistle.tech/llms.txt
> Use this file to discover all available pages before exploring further.
# Linux Kernel OTA Update
> Guide to performing Linux kernel over-the-air updates using Thistle Control Center
This guide will walk you through the process of performing a Linux kernel over-the-air (OTA) update using the Thistle Control Center. You'll learn how to create projects, configure releases, provision devices, and deploy updates seamlessly to your embedded devices.
## Prerequisites
Before beginning this guide, ensure you have the following:
* **Thistle Update Client (tuc)** running on your target device. You can download the latest version from the [Thistle Control Center download page](https://app.thistle.tech/download-binaries).
* Access to the Thistle Control Center web application
* A device running a Linux-based operating system that supports the Thistle Update Client
## Getting Started
### Sign In to Thistle Control Center
Begin by signing into the Thistle Control Center at [https://auth.thistle.tech/signin](https://auth.thistle.tech/signin). If you don't have an account yet, you can create one through the sign-up process.
 ### Create a Project
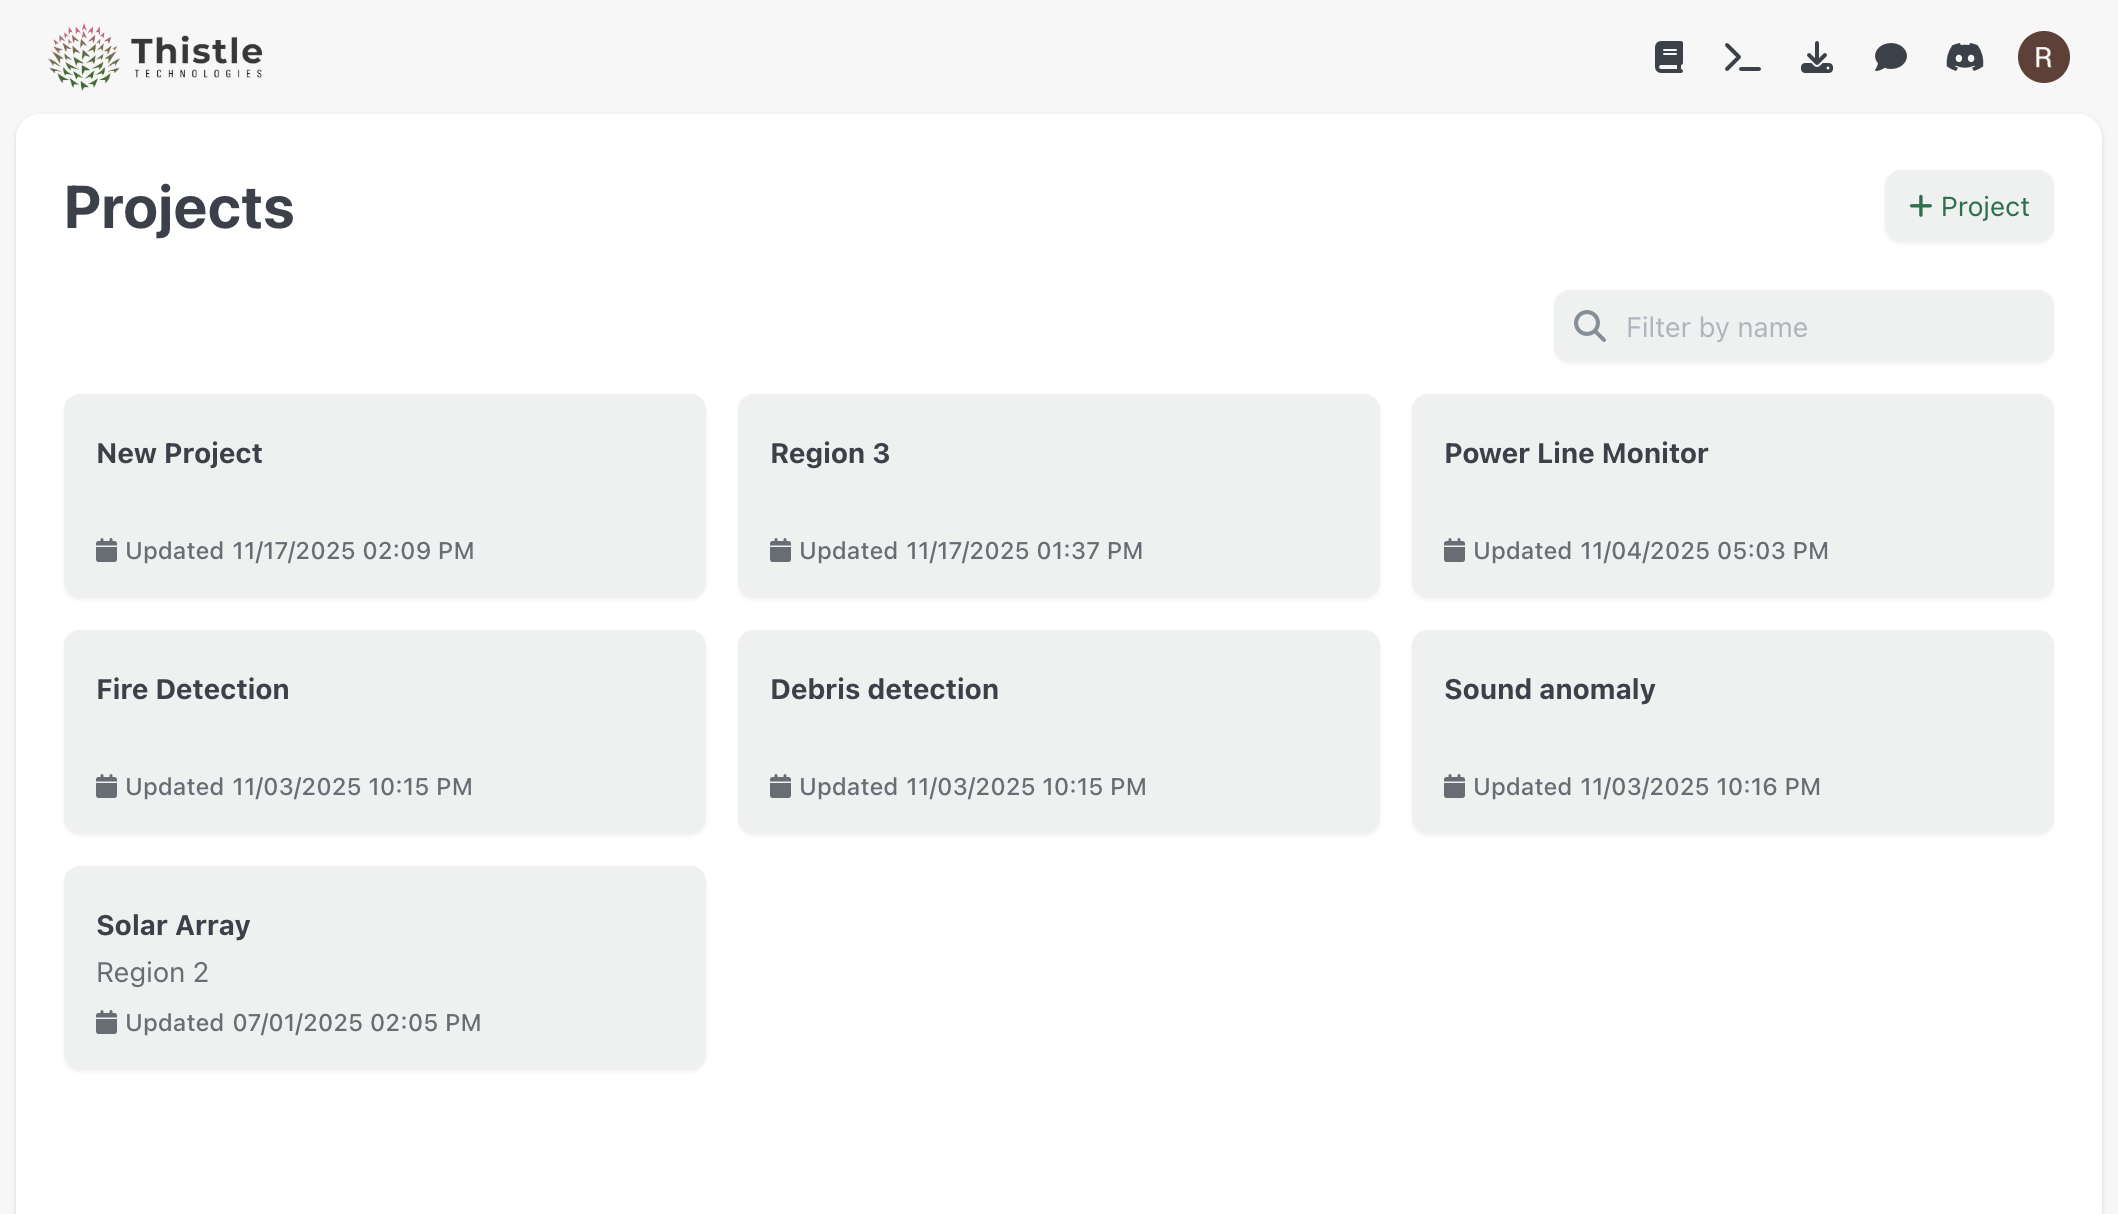
Once you've signed in, you'll need to create a project to organize your devices and releases. Projects serve as containers for related devices and update configurations, allowing you to manage multiple device fleets from a single interface.
### Create a Project
Once you've signed in, you'll need to create a project to organize your devices and releases. Projects serve as containers for related devices and update configurations, allowing you to manage multiple device fleets from a single interface.
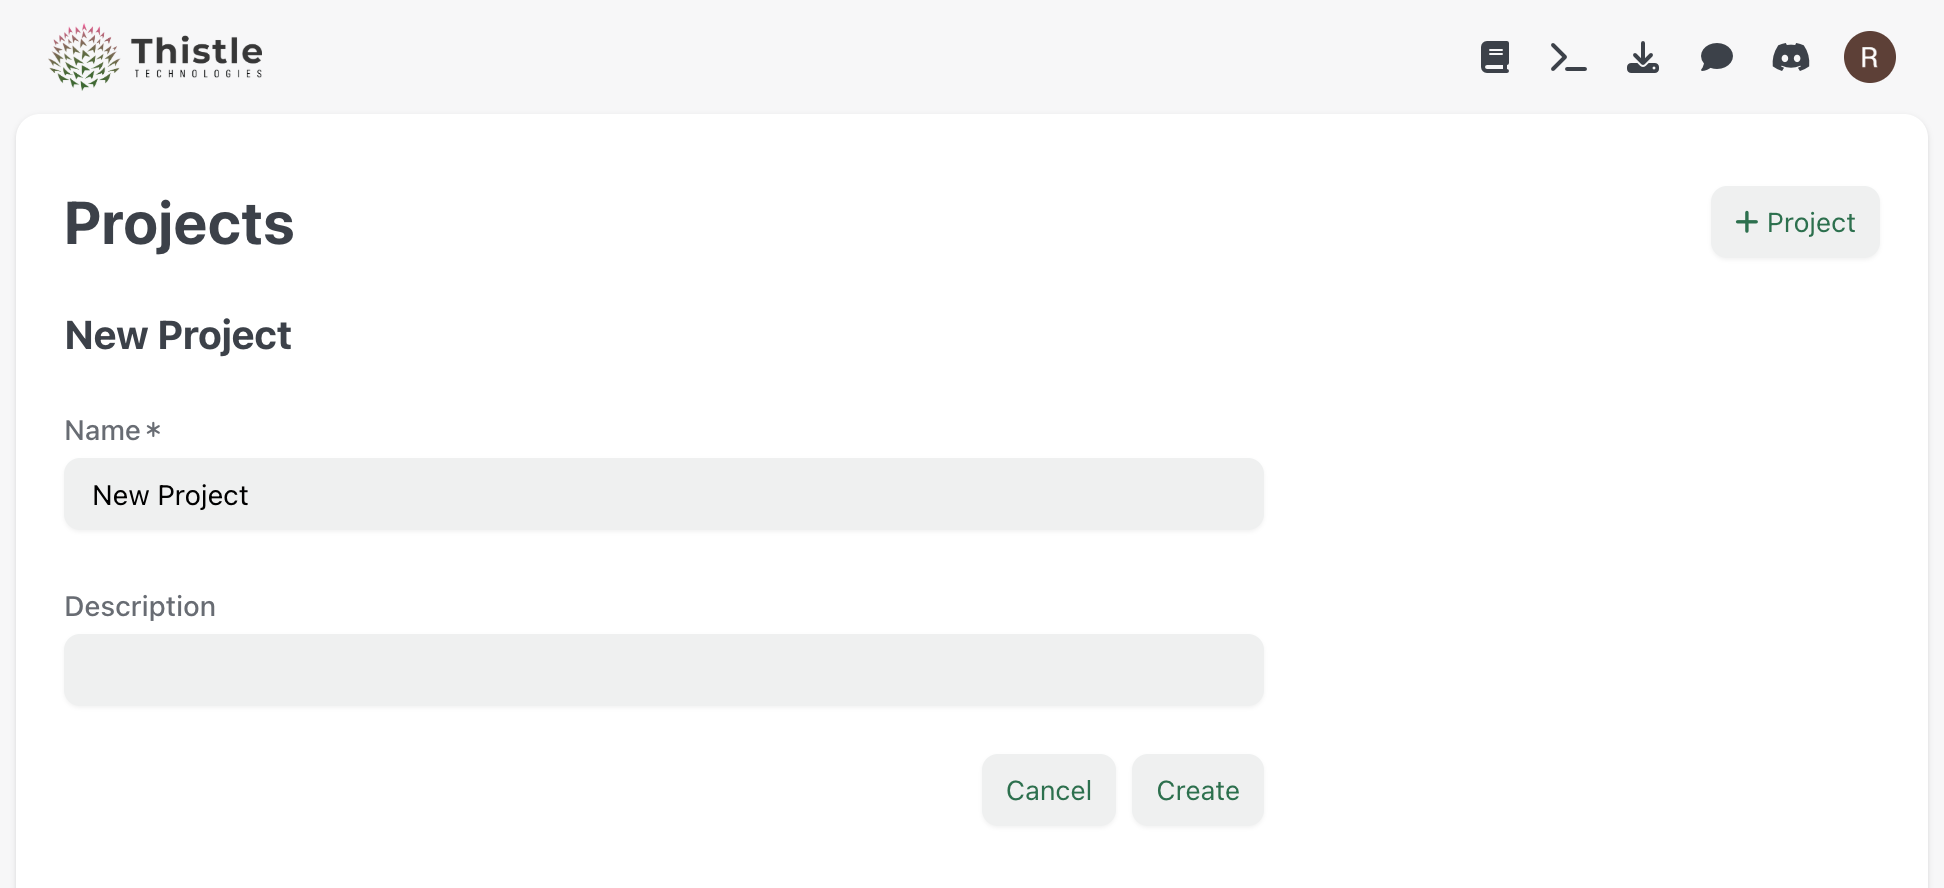 Click on the "Create Project" button and provide a meaningful name for your project. This will be your workspace for managing Linux kernel updates.
### Navigate to Releases
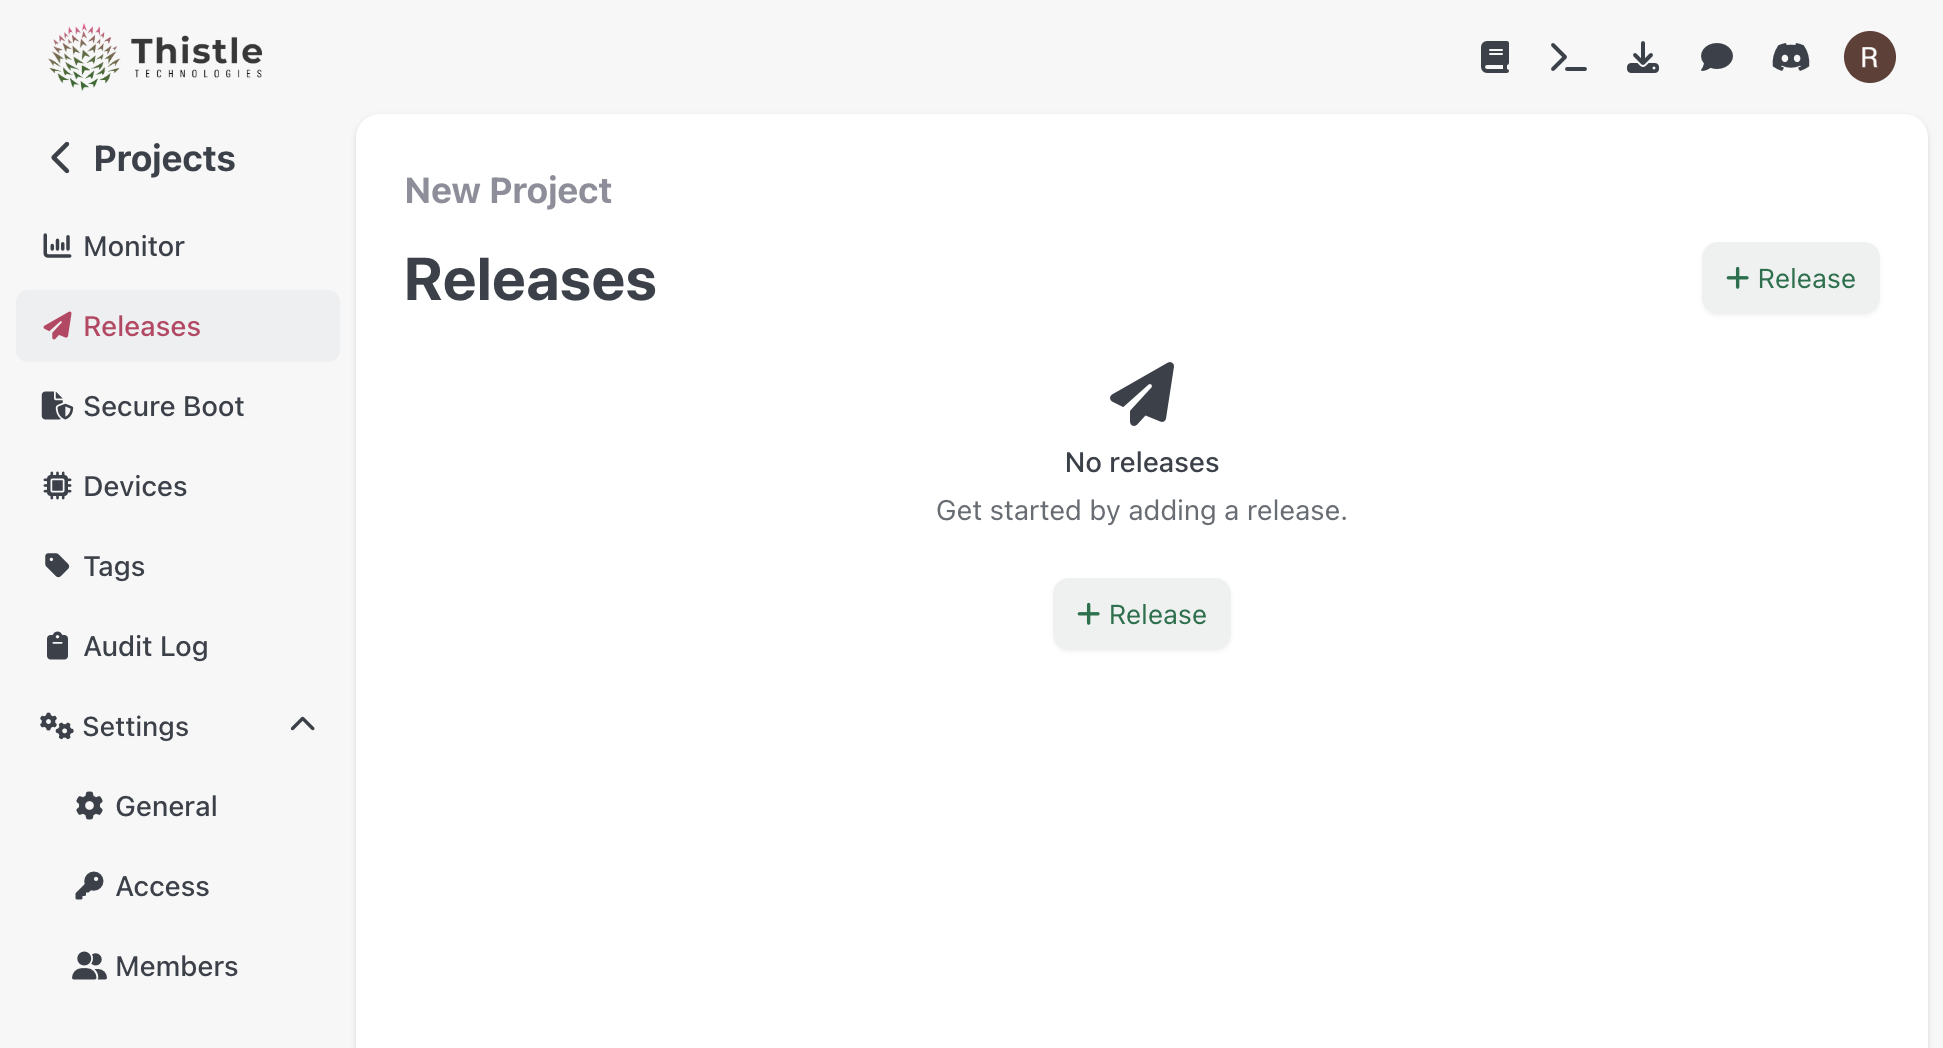
After creating your project, navigate to the **Releases** section within your newly created project. This is where you'll create and manage all your OTA update releases.
Click on the "Create Project" button and provide a meaningful name for your project. This will be your workspace for managing Linux kernel updates.
### Navigate to Releases
After creating your project, navigate to the **Releases** section within your newly created project. This is where you'll create and manage all your OTA update releases.
 ### Create a Release
In the Releases section, you can create a new release for your Linux kernel update. While this guide focuses on creating a Linux Firmware release, the Thistle Control Center supports several other types of releases, including:
* Single file updates
* AI model updates
* Custom application updates
### Create a Release
In the Releases section, you can create a new release for your Linux kernel update. While this guide focuses on creating a Linux Firmware release, the Thistle Control Center supports several other types of releases, including:
* Single file updates
* AI model updates
* Custom application updates
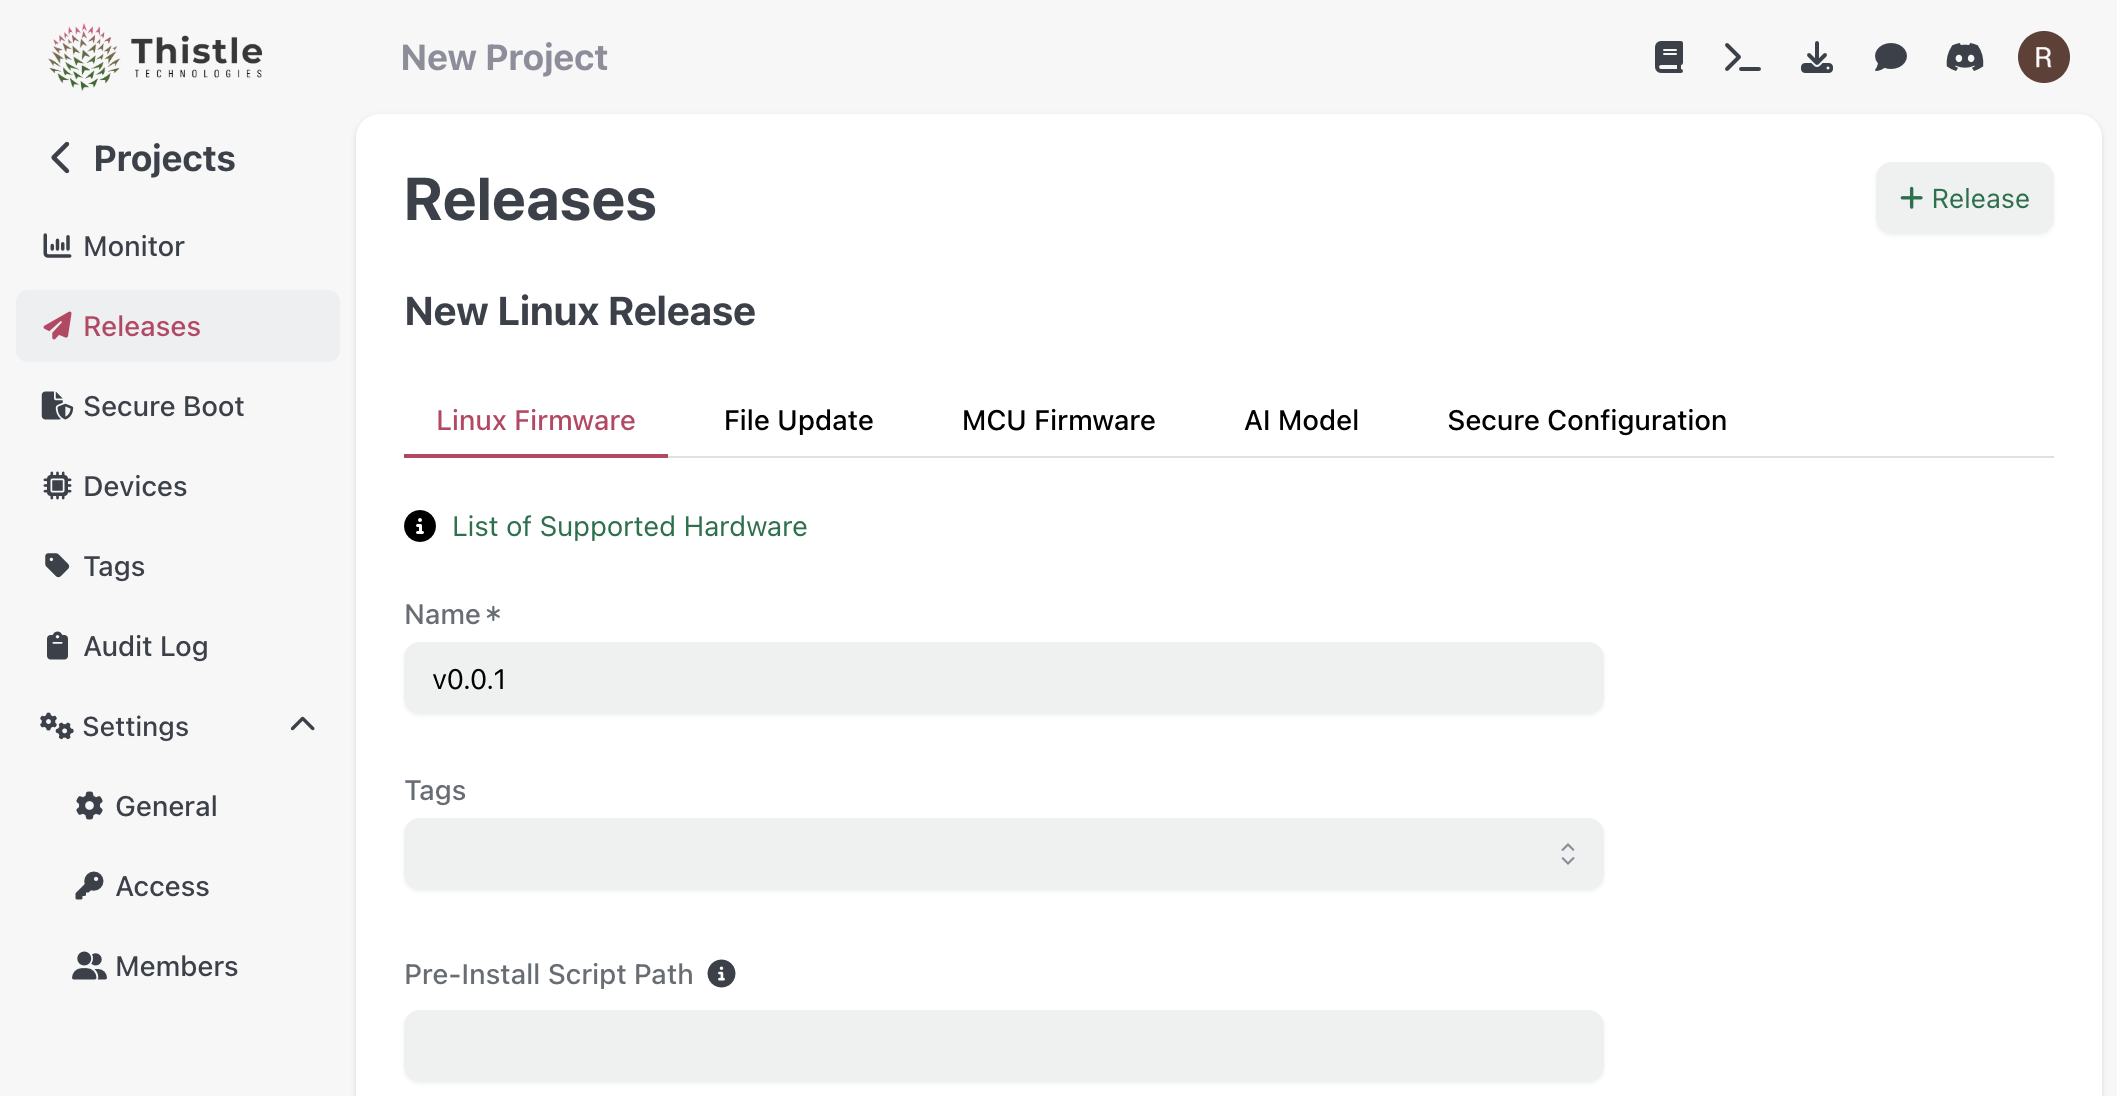 If you're creating a release for the first time in this project, your OTA Public Verification Key will be automatically generated during this operation. This key is essential for verifying the authenticity of your updates and ensuring secure deployments.
### Create a Device
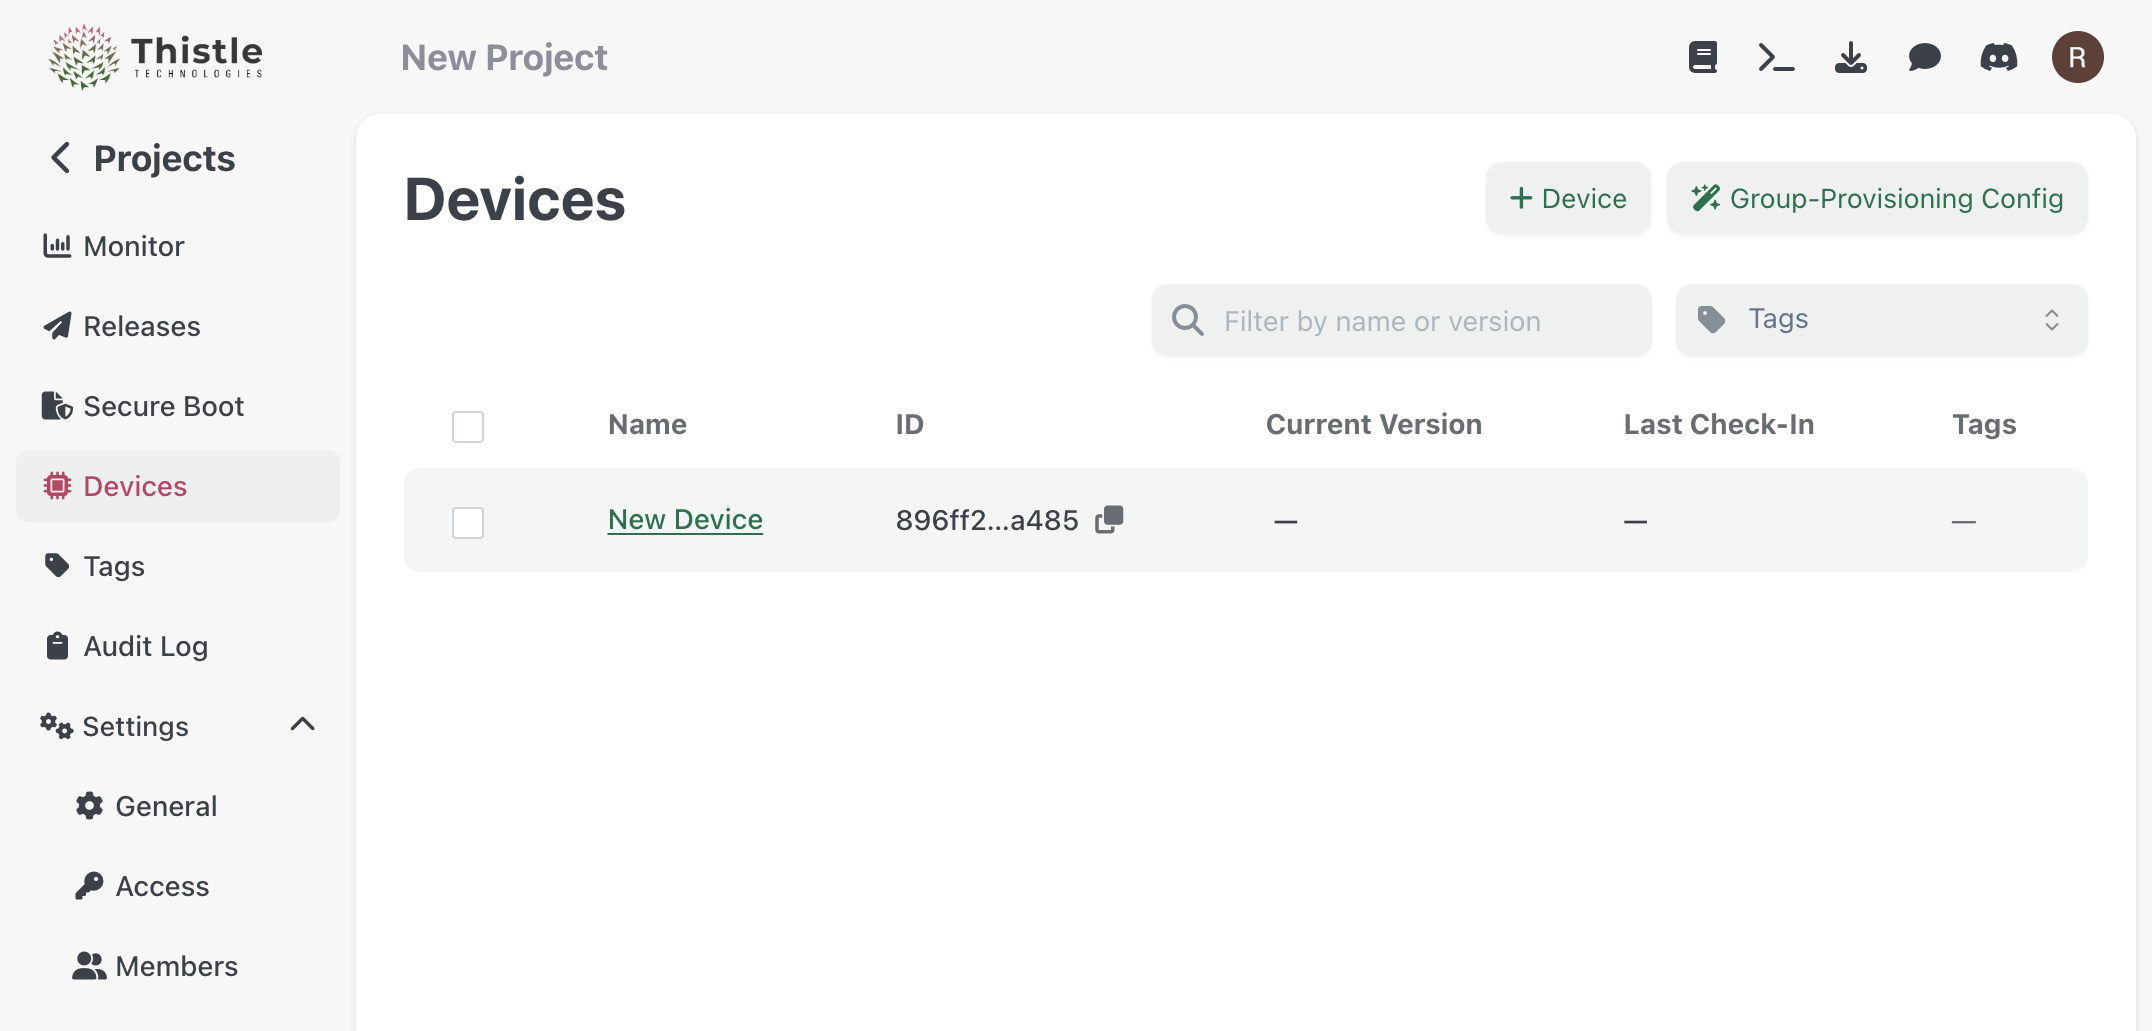
Once you've created your release, navigate to the **Devices** section to register your target device. During device creation, a device configuration JSON file (`config.json`) will be automatically generated and downloaded to your development machine.
If you're creating a release for the first time in this project, your OTA Public Verification Key will be automatically generated during this operation. This key is essential for verifying the authenticity of your updates and ensuring secure deployments.
### Create a Device
Once you've created your release, navigate to the **Devices** section to register your target device. During device creation, a device configuration JSON file (`config.json`) will be automatically generated and downloaded to your development machine.
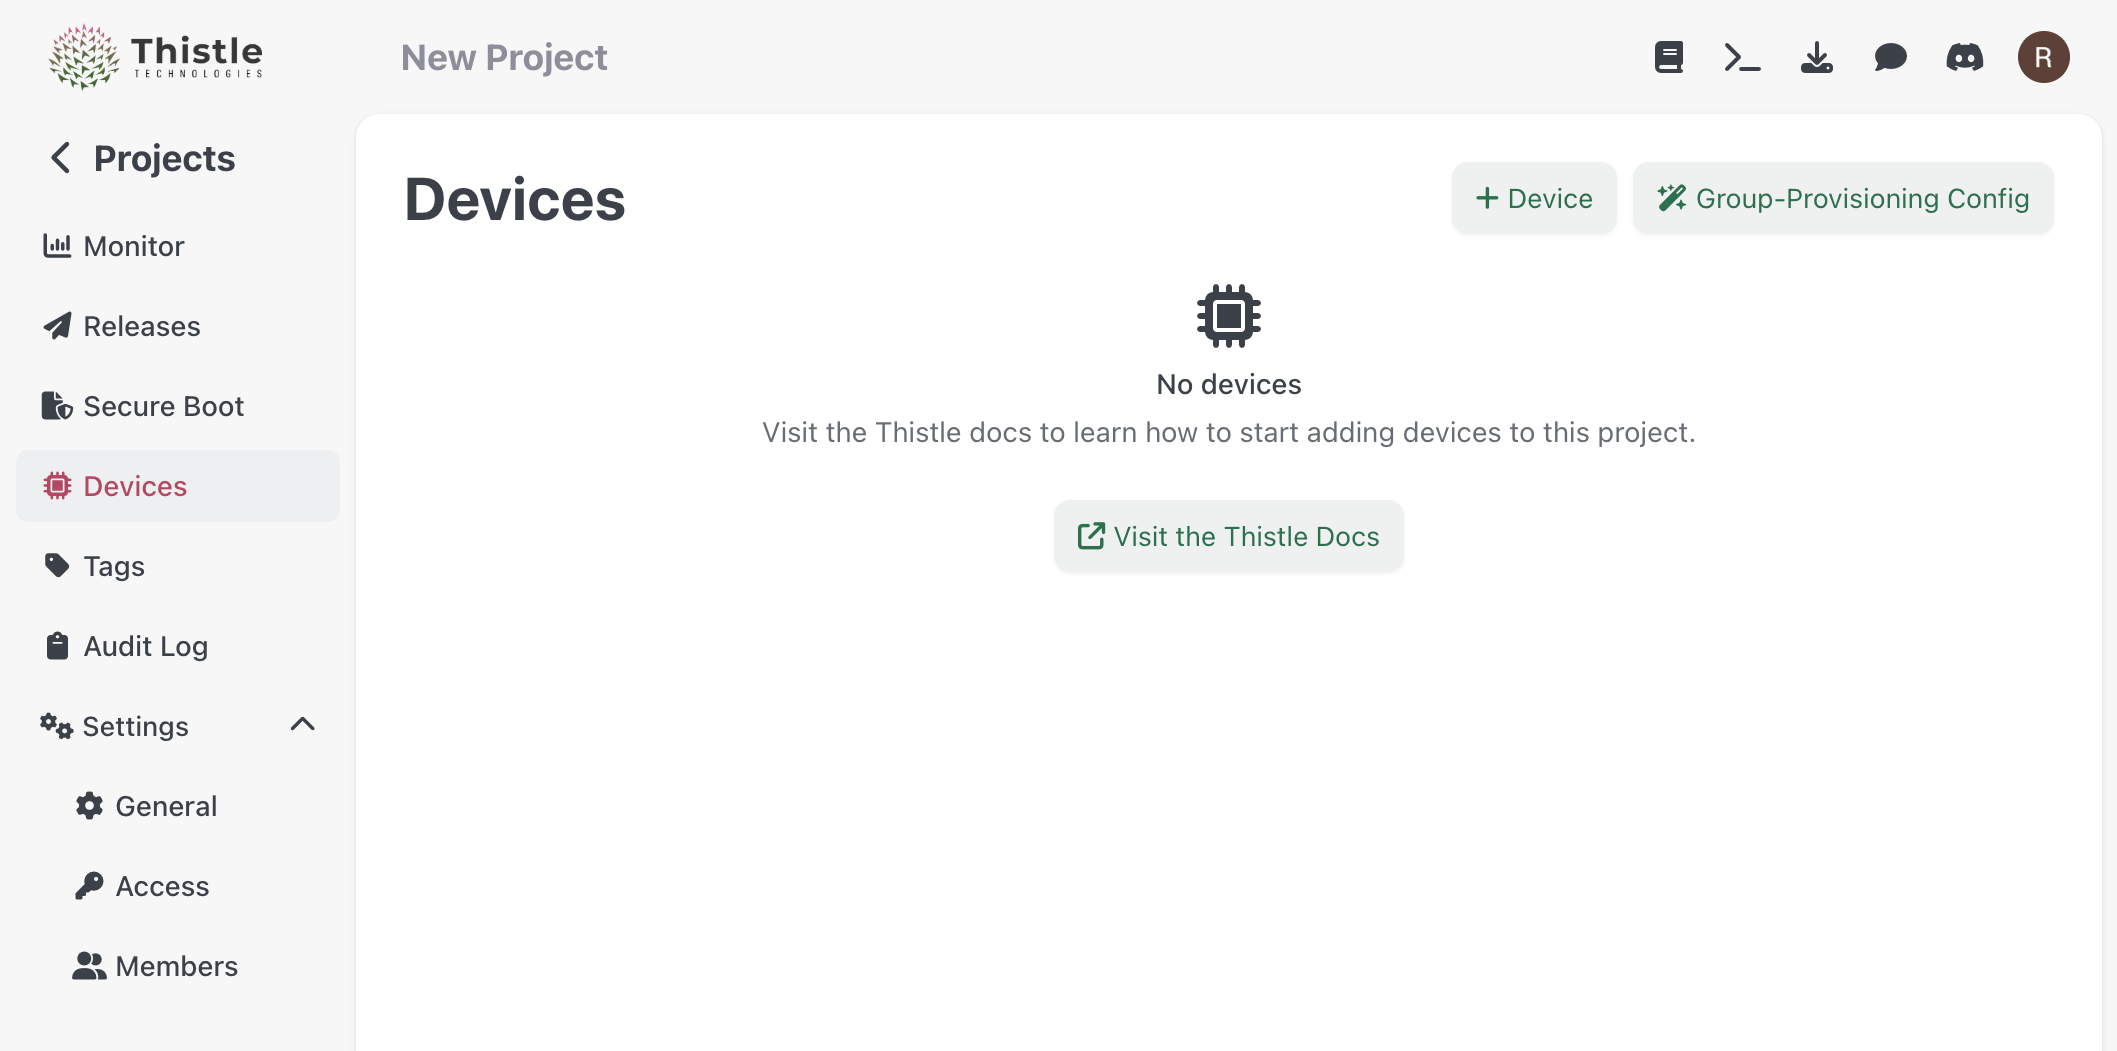 When creating a device, you'll need to provide:
* **Device Name**: A unique identifier for your device
* **Persist Path**: The location on the device where the Thistle Update Client (tuc) can store persistent data between updates
When creating a device, you'll need to provide:
* **Device Name**: A unique identifier for your device
* **Persist Path**: The location on the device where the Thistle Update Client (tuc) can store persistent data between updates
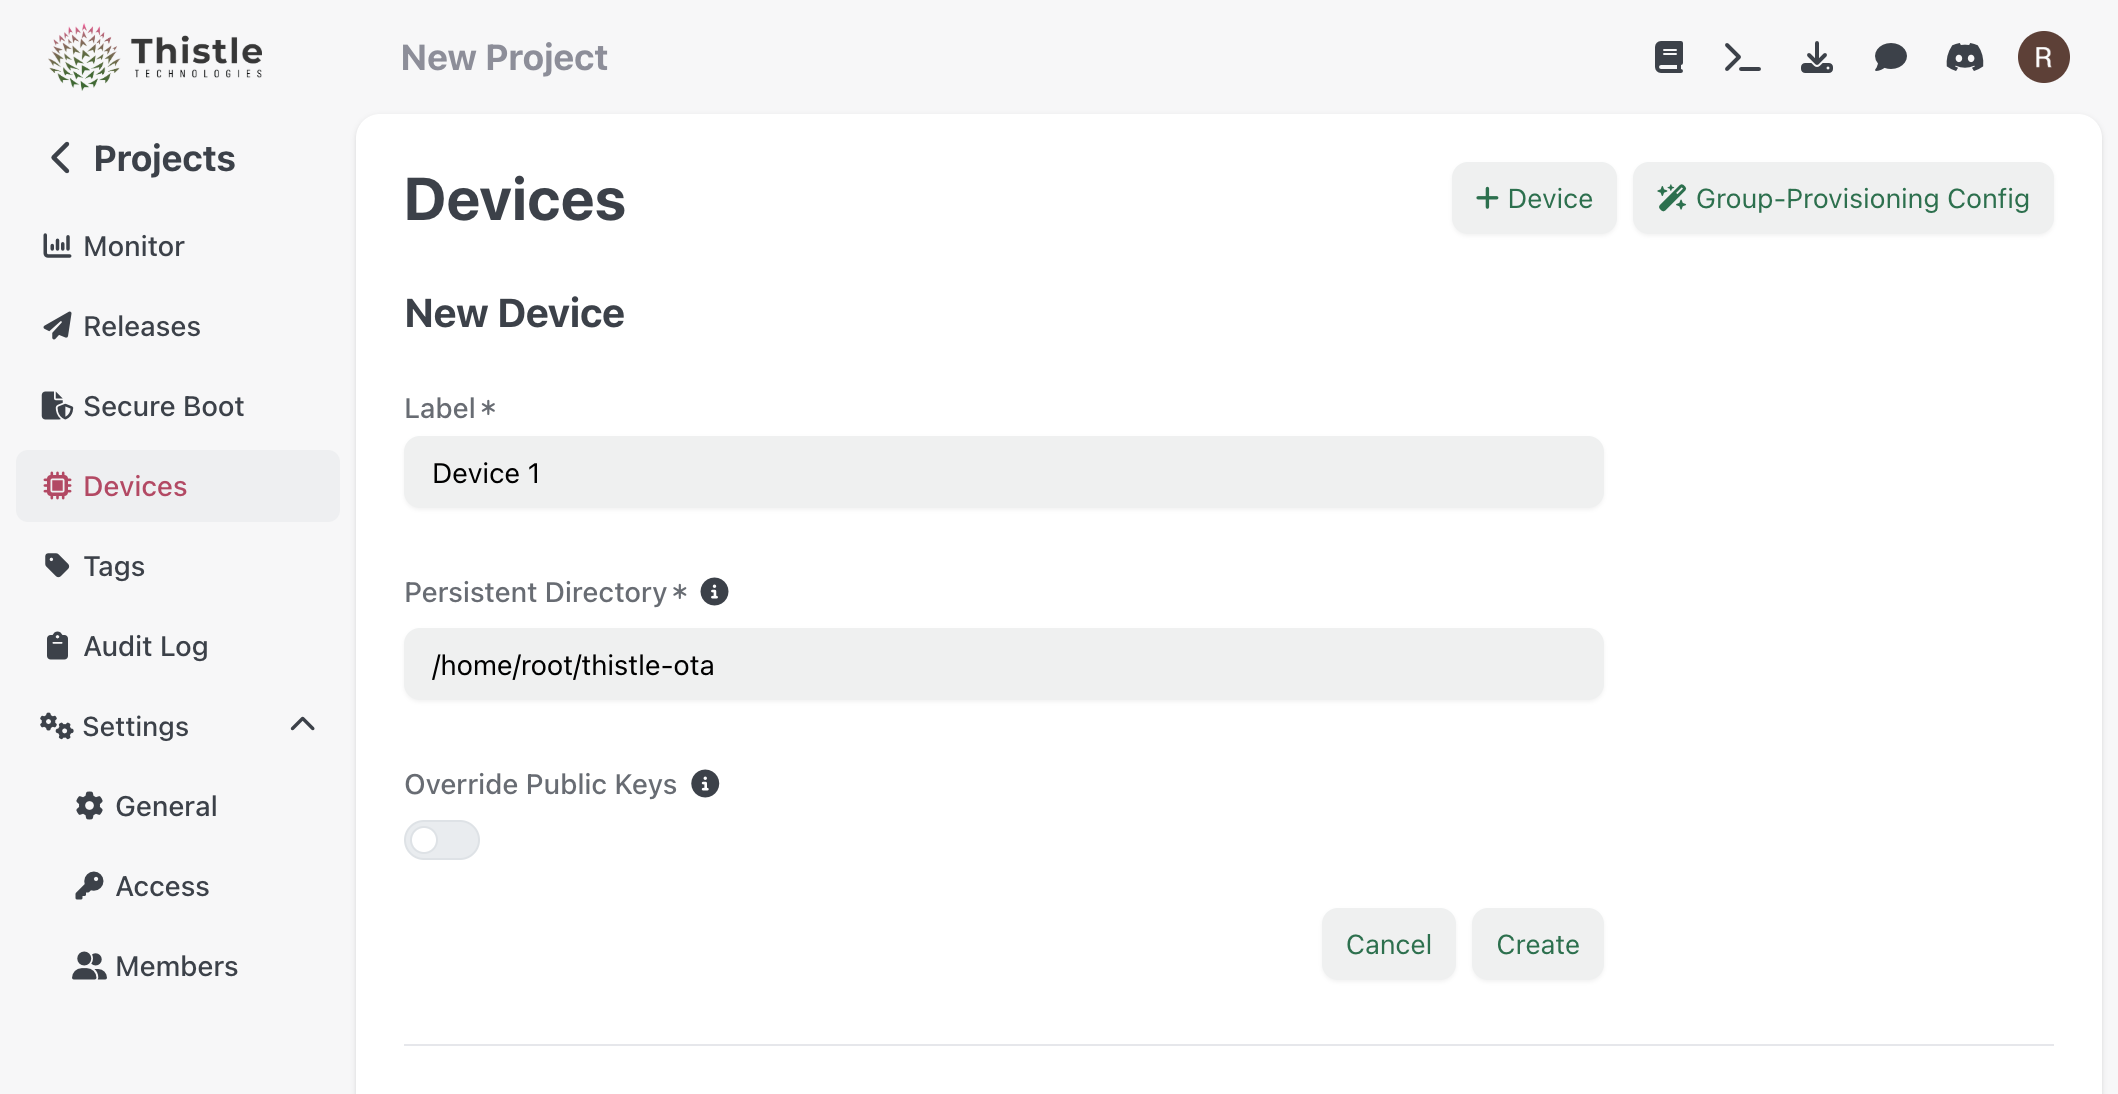 You can optionally override the OTA Public Verification Key that's automatically added to `config.json` during device creation. This is useful if you need to use a custom key for your specific use case.
## Deploying the Update
Now that your device exists in the Thistle Control Center, it's time to deploy the configuration to your actual hardware and initiate the update process.
You can optionally override the OTA Public Verification Key that's automatically added to `config.json` during device creation. This is useful if you need to use a custom key for your specific use case.
## Deploying the Update
Now that your device exists in the Thistle Control Center, it's time to deploy the configuration to your actual hardware and initiate the update process.
 ### Configure the Device
Transfer the downloaded `config.json` file to your target device. You have two options for placing the configuration file:
1. **Same directory as tuc**: Place `config.json` in the same directory where the Thistle Update Client binary is located
2. **Custom location**: Use the `--config-path` option when running tuc to specify a different location for the configuration file
### Run the Update Client
Execute the Thistle Update Client on your device. When tuc successfully fetches and installs an update, you should see output similar to the following:
```bash theme={"dark"}
!! enrolling new device with server...
!! Thistle client starting up - version 1.6.0
!! installing update 0 => 2
!! setting update status to Started
!! setting update status to Pass
```
This output indicates that:
* The device has successfully enrolled with the Thistle backend server
* The update client has started and is running version 1.6.0
* An update is being installed (transitioning from version 0 to version 2)
* The update process has started and completed successfully
The update status messages provide real-time feedback about the update process. A status of "Pass" indicates that the update was successfully installed and verified.
## Next Steps
Congratulations! You've successfully performed your first Linux kernel OTA update using the Thistle Control Center. From here, you can:
* Monitor device status and update history in the Thistle Control Center dashboard
* Create additional releases for future kernel updates
* Manage multiple devices within your project
* Configure automated update schedules and deployment policies
For more advanced features and configuration options, refer to the [Thistle Update Client documentation](/update/command_line_tools) and [configuration reference](/update/configuration_file).
### Configure the Device
Transfer the downloaded `config.json` file to your target device. You have two options for placing the configuration file:
1. **Same directory as tuc**: Place `config.json` in the same directory where the Thistle Update Client binary is located
2. **Custom location**: Use the `--config-path` option when running tuc to specify a different location for the configuration file
### Run the Update Client
Execute the Thistle Update Client on your device. When tuc successfully fetches and installs an update, you should see output similar to the following:
```bash theme={"dark"}
!! enrolling new device with server...
!! Thistle client starting up - version 1.6.0
!! installing update 0 => 2
!! setting update status to Started
!! setting update status to Pass
```
This output indicates that:
* The device has successfully enrolled with the Thistle backend server
* The update client has started and is running version 1.6.0
* An update is being installed (transitioning from version 0 to version 2)
* The update process has started and completed successfully
The update status messages provide real-time feedback about the update process. A status of "Pass" indicates that the update was successfully installed and verified.
## Next Steps
Congratulations! You've successfully performed your first Linux kernel OTA update using the Thistle Control Center. From here, you can:
* Monitor device status and update history in the Thistle Control Center dashboard
* Create additional releases for future kernel updates
* Manage multiple devices within your project
* Configure automated update schedules and deployment policies
For more advanced features and configuration options, refer to the [Thistle Update Client documentation](/update/command_line_tools) and [configuration reference](/update/configuration_file).