Tools needed
- Version 1.6.0 (or above) of TUC and TRH for your platform
- The Thistle Update Client: A binary to run on the device side to obtain the latest OTA update
- The Thistle Release Helper: A CLI developer tool to prepare and publish OTA releases
- One may also try out TUC and TRH on a web browser using Thistle OTA update demo
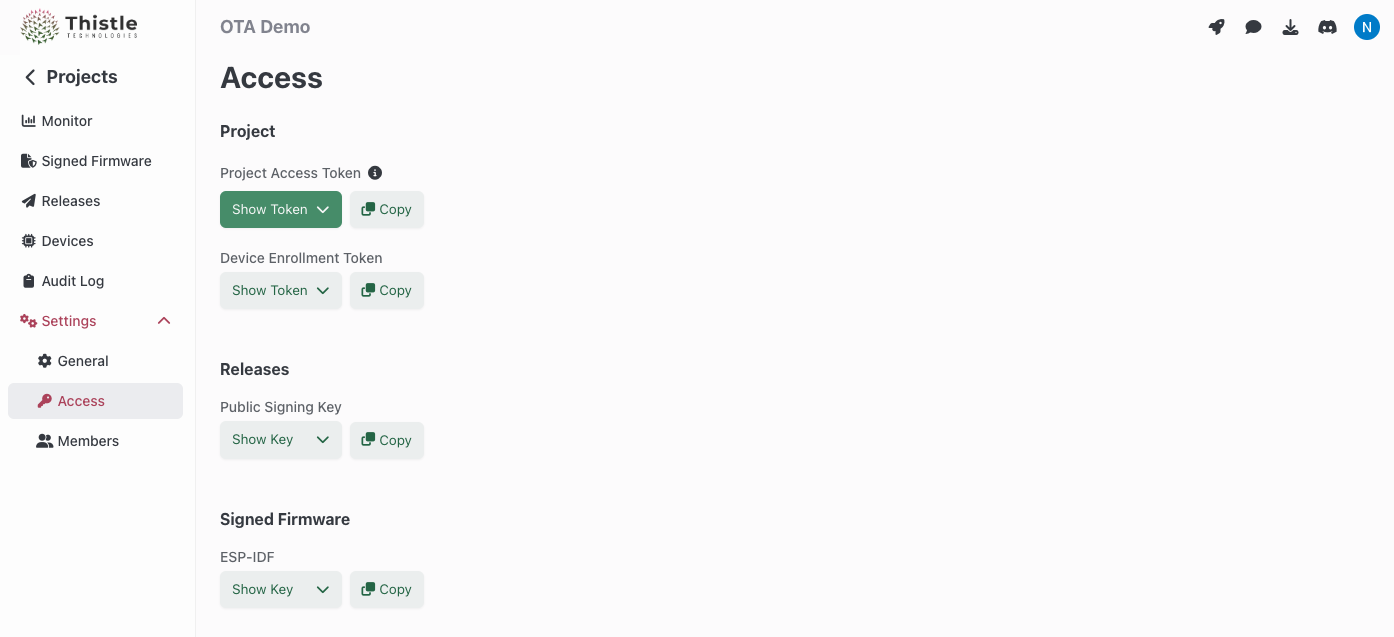
- On the Thistle Control Center App. Visit
the settings section of a project to obtain the API token (“Project Access
Token”) to be used as
THISTLE_TOKENin the configuration step below.
TRH configuration and initialization
Configure your Thistle project’s access token for TRH- Bash
- Windows PowerShell
init
command. This creates a Cloud-KMS-backed OTA update bundle signing key pair on
the Thistle backend, and an OTA update manifest file manifest.json locally in
the current directory, if they do not exist. If they already exist, the public
key portion of the key pair and the latest manifest file will be obtained.
Your local working environment is now ready.
What’s in an update
We will now package our first update. For the purpose of this test, the update will contain a single binary calledmy_app, that will be installed at path /tmp/my_app. Complete “rootfs” system update are also possible using similar commands. Updates are defined by manifest files, they contain the assets’ definition and a cryptographic signature.
manifest.json will be amended and signed for the OTA release.
Upload and test deployed release
Now that we have prepared the update bundle, we can use thetrh tool to upload the release and its assets.
config.json for group enrollment
(cf. Group Enrollment).
config.json in the current directory. It
configures the client to store persistent data between device reboots in path
~/thistle-ota/. Place config.json on a device to receive the OTA update, and
run TUC with this configuration. In this guide we will run TUC on the same
machine where TRH is run.
You can confirm your file was installed as defined by looking at the install path /tmp/my_app.
Upload a new update bundle
To update the manifest we just released with newer content, we need to re-run theprepare and release commands. All the devices using the device
configuration file config.json will then receive this update.
More options
In this get started guide, we explained the usage of the Thistle Update Client alongside the Thistle Release Helper to perform updates on a single file - and many more use cases are supported!- AI model update, with provenance
- AI model update, end-to-end encrypted model
- Encrypted OTA update
- A/B tested Raspberry Pi 4 update support
- Support for pre & post install scripts
- OTA bundle signing using external signing tools