Useful References
Here are some useful references to help understand secure boot and secure boot enablement operations for ESP32 platforms- Enabling Secure Boot V2 on ESP32 Platforms in Development
- Enabling Secure Boot V2 on ESP32 Platforms in Production
- Espressif DevCon23 - Enabling Secure Boot (V2) on ESP32 Platforms in Development and Production
Required Hardware
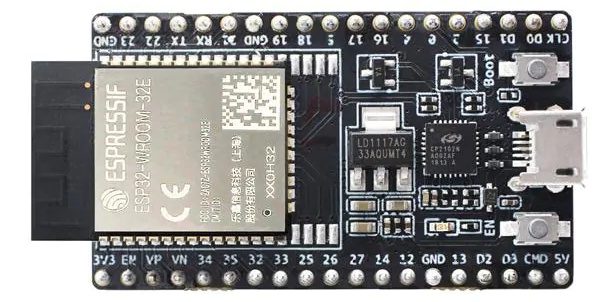
Two units of unfused ESP32 ECO3 and later: one for development fusing, the other for production fusing. Tested on the following development board- ESP32-DevKitC-32E (Mouser link; Datasheet)
In Development
Steps to Enable SBV2 in Development
- On a development machine running Linux, install the Docker engine.
-
Build Docker container images for secure boot fuse blowing and firmware
signing on development machine.
-
Connect an unfused ESP32 development board to development machine through
USB, and run Docker container
-
Inside the container, blow eFuses by flashing the prebuilt (and signed) “void
app” firmware images
Inspect the serial console output, and you should see log entries such asNow secure boot is enabled. From now on, any update in the application image will required the image to be signed for it to boot on this board. You may try to flash an unsigned image and observe the boot failure.If you run
idf.py monitornow, you should be able to see the device entering a boot loop showing log entries as below
Steps to Build and Sign Custom Application Image in Development
-
On host machine, drop the application source folder into the
shared/directory, and inside the container, copy the application source folder to/home/esp/app/. We will use an ESP-IDF sample application as an example. Inside container -
Inside the container, flash the signed app
In Production
Steps to Enable SBV2 in Production
-
Connect a mew unfused ESP32 development board to development machine through
USB, and run Docker container
-
Copy the
void_appfirmware images from the container to host. Inside the container, under/home/esp/ -
On host machine, open the Thistle Control Center
from a web browser, create a project, and go go the “Signed Firmware” menu.
Click the “+Signed Firmware Bundle” button to add a new signed firmware
bundle: pick a name for it, choose “ESP32” and “ESP-IDF” as the hardware type
and firmware type, respectively, and upload
bootloader.binandvoid_app.binthat were put in theshared/folder.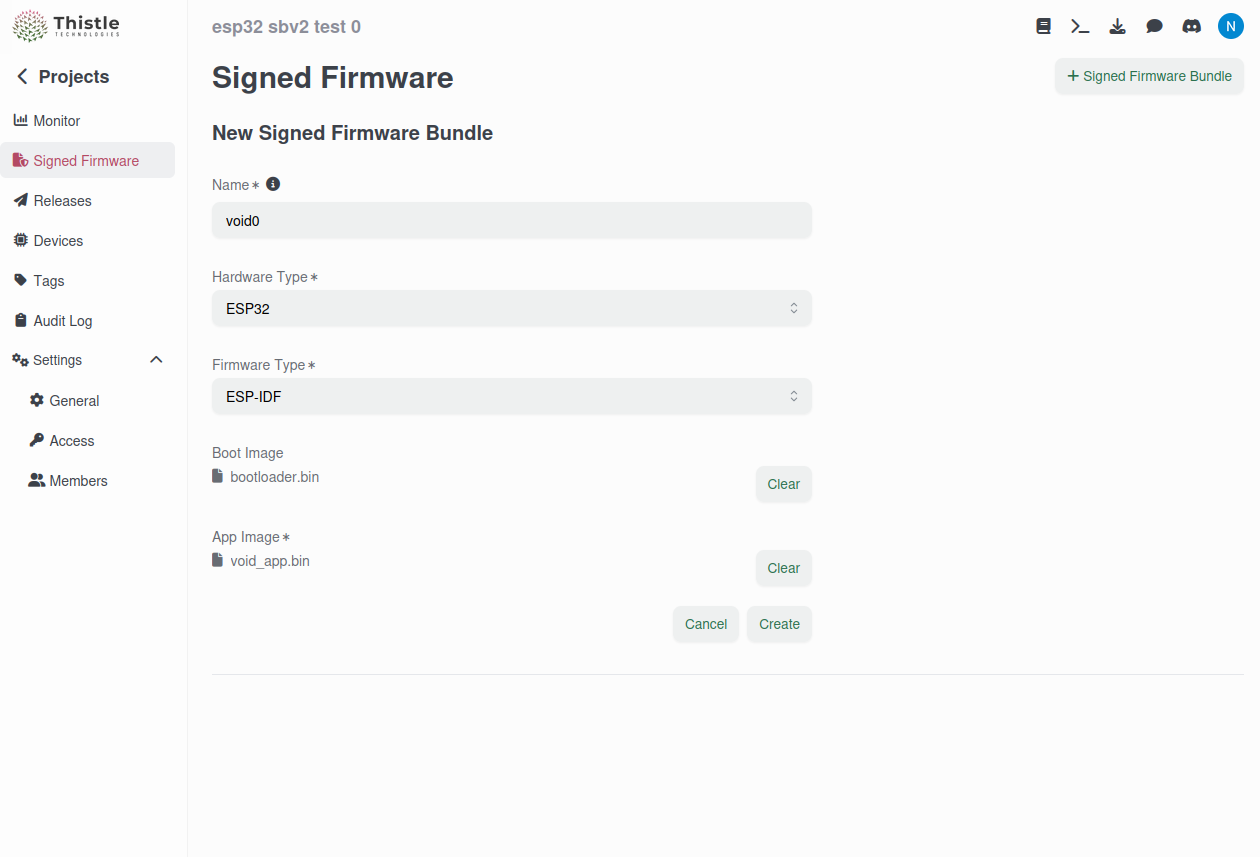
.patched_<timestamp>to the aforementionedshared/folder.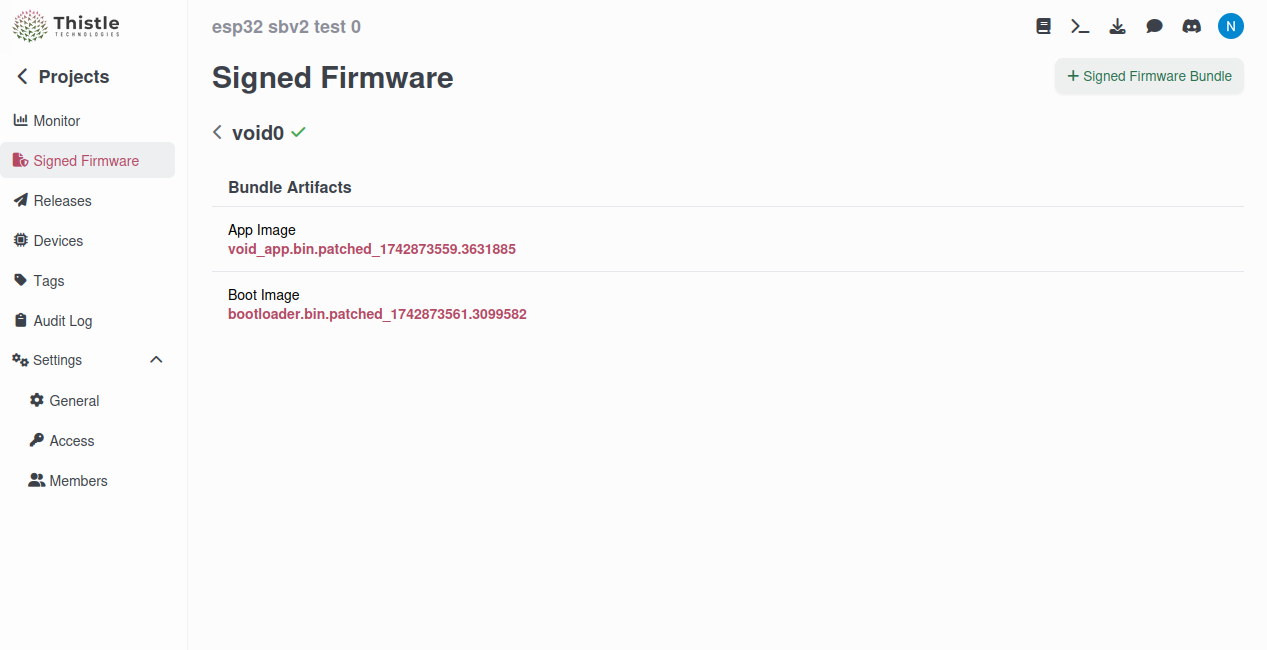
-
Inside the container, flash the production signed bootloader and application
images
Steps to Sign Custom Application Image in Production
-
Connect the production fused ESP32 development board to development machine
through USB, and run Docker container
-
Inside the container, build the application image by following the steps
described in Section “Steps to Build and Sign Custom Application Image in
Development” above, and copy the development signed application image
apps/hello_world/build/hello_world.binand the partition table imageapps/hello_world/build/partition_table/partition-table.binto theshared/folder. -
On host machine, create a new signed firmware bundle in TCC in the same
project in which the
void_appgot signed, and upload the development signed application image to it (one can ignore the bootloader image if there’s no change in the bootloader). Pick a meaningful name for the signed firmware bundle, and choose “ESP32” and “ESP-IDF” as the hardware type and firmware type, respectively. Click the “Create” button to sign the application image using the production signing key managed in a cloud key management system. Download the production signed images suffixed with.patched_<timestamp>to theshared/folder. -
Inside the container, flash the production signed application image