 This guide shows how to integrate Thistle OTA on Orange Pi Zero 3. Start with a quick file‑update path (no A/B). Optionally, prepare your image for rootfs A/B, and pre‑enable SSH/Wi‑Fi before flashing.
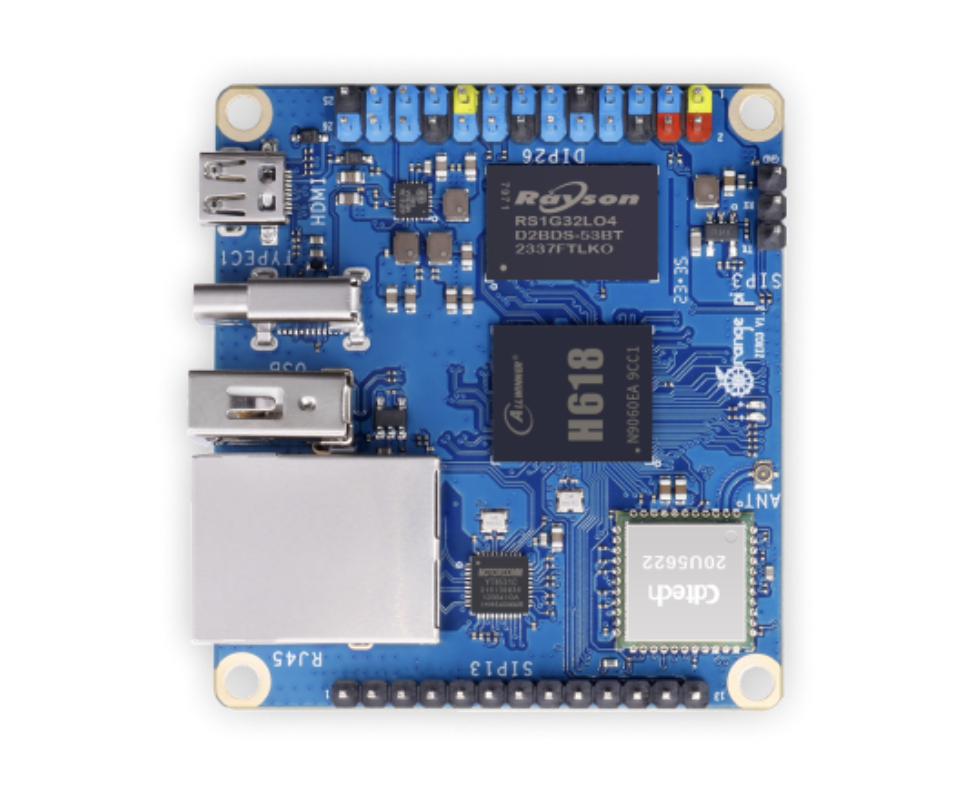
Orange Pi Zero 3 uses Allwinner H618. Community images vary. Ensure you use a Linux image with U‑Boot and device tree overlays for I²C/SPI when needed. See community pinouts and I²C overlay guidance for related boards for enabling buses when integrating peripherals.
Default Credentials
Login to your Orange Pi over serial or SSH using these defaults:
- Orange Pi OS (official):
oem / oem (default hostname: orange-os.local)
Prerequisites
- Orange Pi Zero 3 with power supply and microSD card
- Linux image (Ubuntu/Debian/Armbian‑based)
- Network access
- Linux/macOS workstation
Quick path: File updates (no A/B)
Use Thistle’s file‑update mode to ship signed files and app bundles without changing partitions. On Orange Pi OS the boot partition is mounted at /boot; use that as the persistent directory.
- Download tools
VER=1.5.0
curl -LO https://downloads.thistle.tech/embedded-client/$VER/trh-$VER-x86_64-unknown-linux-musl.gz
gunzip trh-$VER-x86_64-unknown-linux-musl.gz
chmod +x trh-$VER-x86_64-unknown-linux-musl && ln -sf trh-$VER-x86_64-unknown-linux-musl trh
- Device (TUC on Zero 3, aarch64):
# On the device shell (SSH or serial)
VER=1.5.0
curl -LO https://downloads.thistle.tech/embedded-client/$VER/tuc-$VER-aarch64-unknown-linux-musl.gz
gunzip tuc-$VER-aarch64-unknown-linux-musl.gz
chmod +x tuc-$VER-aarch64-unknown-linux-musl
sudo mv tuc-$VER-aarch64-unknown-linux-musl /usr/local/bin/tuc
tuc --help | head -n 3
- Initialize and release a simple file update on the workstation
export THISTLE_TOKEN=$(cat)   # paste token, Enter, then Ctrl-D
./trh init --persist="/boot"

mkdir -p example && echo "hello from thistle" > example/app
# Install to /opt/example on device
./trh prepare --target=./example --file-base-path=/opt/example
./trh release
- Copy config to device and run client
# On workstation
scp config.json oem@orange-os.local:/tmp/tuc-config.json

# On device (SSH or serial)
sudo mv /tmp/tuc-config.json /boot/tuc-config.json
sudo tuc -c /boot/tuc-config.json
Optional: Verify A/B partitions (if present)
Most Orange Pi OS images do not provision A/B partitions by default. If you’ve already created rootfsB (e.g., via the headless prep below) or your image includes it, SSH in and verify partitions:
ssh oem@orange-os.local
lsblk -o NAME,SIZE,FSTYPE,LABEL,MOUNTPOINT
- p1 (vfat) mounted at
/boot
- p2 (ext4) mounted at
/
- p3 (ext4, label often
rootfsB) present for A/B updates
If rootfsB is missing, follow the headless image prep section below to create it (resize rootfs and add a new rootfsB partition), then return here to verify.
Optional: Headless image prep (Orange Pi OS, aarch64)
Prepare an Orange Pi OS (aarch64) image before flashing: create rootfsB, enable SSH, preconfigure Wi‑Fi via NetworkManager, and set hostname. Docker is optional; any live Linux works.
1. Download the image
mkdir -p ~/opi-img && cd ~/opi-img
# Download an Orange Pi OS aarch64 image from the vendor and name it OrangePiOS_Arch64.img
# For example, if you have OrangePiOS_Arch64-<date>.img(.xz), place/decompress it here as OrangePiOS_Arch64.img
2. Start a Linux environment in Docker
docker run --rm -it --privileged -v "$PWD":/work ubuntu:24.04 bash
apt-get update
apt-get install -y parted e2fsprogs kpartx util-linux
cd /work
3. Expand image size & map partitions
truncate -s +8G OrangePiOS_Arch64.img
losetup -Pf --show OrangePiOS_Arch64.img   # e.g. /dev/loop0
kpartx -av /dev/loop0                      # maps /dev/mapper/loop0p1, p2
4. Resize rootfs (p2) to 6 GiB
e2fsck -f /dev/mapper/loop0p2
resize2fs /dev/mapper/loop0p2 5900M
parted -s /dev/loop0 unit GiB resizepart 2 6
e2fsck -f /dev/mapper/loop0p2
resize2fs /dev/mapper/loop0p2
parted -s /dev/loop0 -a optimal mkpart primary ext4 6GiB 100%
kpartx -a /dev/loop0
mkfs.ext4 -F -L rootfsB /dev/mapper/loop0p3
6. Enable headless SSH + Wi‑Fi
Mount rootfs:
mkdir -p /mnt/root
mount /dev/mapper/loop0p2 /mnt/root
a) Enable SSH at boot
ln -sf /usr/lib/systemd/system/sshd.service \
  /mnt/root/etc/systemd/system/multi-user.target.wants/sshd.service
b) Add your SSH key
mkdir -p /mnt/root/home/oem/.ssh
chmod 700 /mnt/root/home/oem/.ssh
echo 'ssh-ed25519 AAAA...you@host' >> /mnt/root/home/oem/.ssh/authorized_keys
chmod 600 /mnt/root/home/oem/.ssh/authorized_keys
chroot /mnt/root chown -R oem:oem /home/oem/.ssh || true
mkdir -p /mnt/root/etc/NetworkManager/system-connections
cat > /mnt/root/etc/NetworkManager/system-connections/headless.nmconnection <<'EOF'
[connection]
id=headless
type=wifi
autoconnect=true

[wifi]
ssid=YOUR_SSID
mode=infrastructure

[wifi-security]
key-mgmt=wpa-psk
psk=YOUR_PASSWORD

[ipv4]
method=auto

[ipv6]
method=auto
EOF
chmod 600 /mnt/root/etc/NetworkManager/system-connections/headless.nmconnection

# Ensure NetworkManager is enabled
ln -sf /usr/lib/systemd/system/NetworkManager.service \
  /mnt/root/etc/systemd/system/multi-user.target.wants/NetworkManager.service
d) Set hostname (optional)
echo "orangepi" > /mnt/root/etc/hostname
7. Cleanup
kpartx -dv /dev/loop0
losetup -d /dev/loop0
exit
8. Flash to SD (on macOS host)
diskutil list                         # locate your SD (e.g., /dev/disk3)
diskutil unmountDisk /dev/diskN       # replace diskN with your SD identifier
sudo dd if=OrangePiOS_Arch64.img of=/dev/rdiskN bs=4m status=progress
sync
9. First boot
- Partitions:
- p1 → boot (FAT)
- p2 → rootfs (6 GiB ext4)
- p3 → rootfsB (ext4, label
rootfsB)
- SSH enabled automatically
- Wi‑Fi auto‑connects to your SSID
- Hostname set to
orangepi (or your choice)
Login:
ssh oem@orangepi.local
# or: ssh oem@<board-ip>
# Workstation: TRH (prepare/release)
VER=1.5.0
curl -LO https://downloads.thistle.tech/embedded-client/$VER/trh-$VER-x86_64-unknown-linux-musl.gz
gunzip trh-$VER-x86_64-unknown-linux-musl.gz
chmod +x trh-$VER-x86_64-unknown-linux-musl && ln -sf trh-$VER-x86_64-unknown-linux-musl trh

# Device: TUC (install)
ssh oem@orange-os.local 'VER=1.5.0; curl -LO https://downloads.thistle.tech/embedded-client/$VER/tuc-$VER-aarch64-unknown-linux-musl.gz && gunzip tuc-$VER-aarch64-unknown-linux-musl.gz && chmod +x tuc-$VER-aarch64-unknown-linux-musl && sudo mv tuc-$VER-aarch64-unknown-linux-musl /usr/local/bin/tuc && tuc --help | head -n 3'

# Workstation: Project token for TRH
export THISTLE_TOKEN=$(cat)
Initialize and Prepare Rootfs Release
./trh init --persist="/boot"
./trh prepare --target=myrootfs.img
./trh release
Device Configuration
Create tuc-config.json:
{
  "name": "opi_zero3",
  "persistent_directory": "/boot",
  "public_keys": ["<YOUR_PUBLIC_KEY>"],
  "bootloader": "Thistle-U-Boot",
  "part_a": "/dev/mmcblk0p2",
  "part_b": "/dev/mmcblk0p3"
}
On Orange Pi OS, the boot chain typically uses U‑Boot; set bootloader to Thistle-U-Boot. Verify device nodes with lsblk and adjust part_a/part_b if yours differ.
/boot:
scp tuc-config.json oem@orange-os.local:/tmp/
ssh oem@orange-os.local 'sudo cp /tmp/tuc-config.json /boot/tuc-config.json'
Run Update
ssh oem@orange-os.local
sudo tuc -c /boot/tuc-config.json
Notes and Tips
- Verify which storage node your rootfs partitions use (
/dev/mmcblk0p2, /dev/mmcblk0p3).
References